
The Little Forge shares practical, down-to-earth guidance on traditional blacksmithing and metalcraft for readers across the UK.
- 0123456789
- Angle Bd Abdelmoumen & rue soumaya, Résidence
- [email protected]
The Little Forge shares practical, down-to-earth guidance on traditional blacksmithing and metalcraft for readers across the UK.
 By Rebecca Green
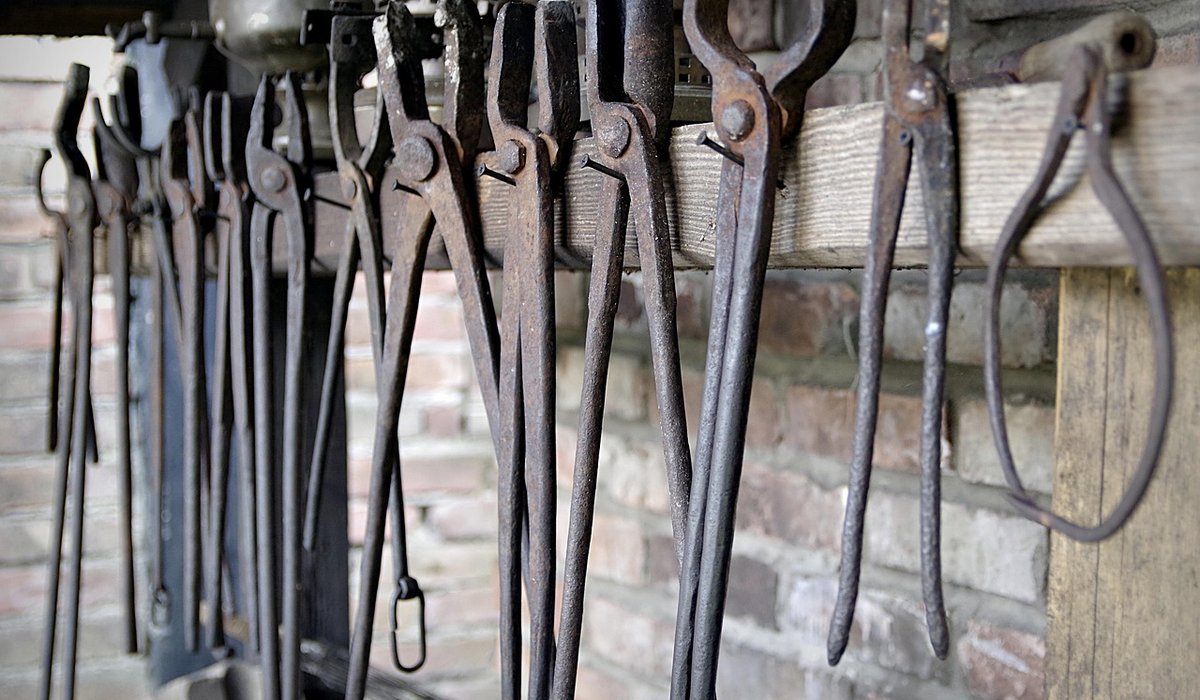
Drawing out is the art of making metal longer and thinner without simply squashing it into a shapeless lump. You are stretching the steel, moving volume along the bar while keeping the cross-section even and the edges clean. Rushing this process leads to lumpy tapers, uneven thickness, and cold shuts that can ruin a piece. Work at a good yellow-orange heat—around 1,100–1,200°C for mild steel—and stop before it drops below a bright red. Reheat often. Each heat should have a clear aim: taper this end, thin this section, or true up the sides. Think of yourself as guiding the metal, not forcing it.
Stand with your feet shoulder-width apart and the anvil at knuckle height. Grip the hammer near the end of the handle, but not with a white-knuckled death grip. A relaxed hold lets the hammer do the work and gives you finer control. The swing comes from three joints: wrist, elbow, and shoulder. For light blows, use wrist only. For heavy drawing, add the elbow and a little shoulder. Keep your eye on the spot you want to hit, not on the hammer. Let the hammer fall; don’t force it down. The rebound tells you if you’re striking flat and true.
Practise on a piece of mild steel rod: strike a line of blows down one side, flip 90 degrees, and strike again. Aim for even spacing and a consistent rhythm.
Every anvil has a sweet spot—the area of the face with the most mass beneath it, usually just in front of the hardy hole. Striking here gives the most efficient transfer of energy. For drawing out, you want to hit the metal over the sweet spot, not over the edges or the step. The horn is your friend for drawing tapers and curves. Lay the bar across the horn and strike with glancing blows; this spreads the metal sideways and lengthens it quickly. For straight drawing, use the flat face with a cross peen or straight peen hammer. The peen concentrates force into a small area, moving metal faster than a flat face alone. Rotate the bar 90 degrees between passes to keep it square and avoid thinning one face more than another.
Don’t start at the very tip of a bar when drawing a taper. Start slightly back from the end and work towards it. This pushes metal forward rather than folding it over. For drawing a long section, work from the middle outward, then return to the middle. Overlap your blows by about half the hammer face. Use a consistent rhythm: strike, shift, strike. If you hear a dull thud, you’re too cold or hitting soft. If the bar starts to curve, you’re hitting off-centre; correct by striking the high side or rotating. After a few passes, flatten the bar on the face to true it up. A light planishing blow with a flat hammer removes hammer marks and keeps thickness even.
Steel moves best at a bright yellow-orange. As it cools to cherry red, it becomes stiffer and more prone to cracking. Stop drawing and return to the forge before it goes dull red. If you keep hammering cold steel, you risk cold shuts—folds that never weld shut—and fishmouths at the ends. A fishmouth is a V-shaped split caused by drawing the corners faster than the centre. Prevent it by keeping the bar square, rotating regularly, and not over-drawing one face. If you see a fishmouth forming, cut it off and start again. Also, keep your hammer face polished and slightly domed. A sharp edge on the hammer will leave deep marks that are hard to remove later.
You don’t need fancy tools to improve. Try these drills at the start of each session:
Spend fifteen minutes on these drills before you start a project. Your hammer control will improve quickly, and your drawing out will become smoother, more accurate, and far less tiring. Remember: heat, rhythm, and observation. The metal tells you everything if you listen.


We are not gonna make spamming
