
The Little Forge shares practical, down-to-earth guidance on traditional blacksmithing and metalcraft for readers across the UK.
- 0123456789
- Angle Bd Abdelmoumen & rue soumaya, Résidence
- [email protected]
The Little Forge shares practical, down-to-earth guidance on traditional blacksmithing and metalcraft for readers across the UK.
 By Thomas Ashworth
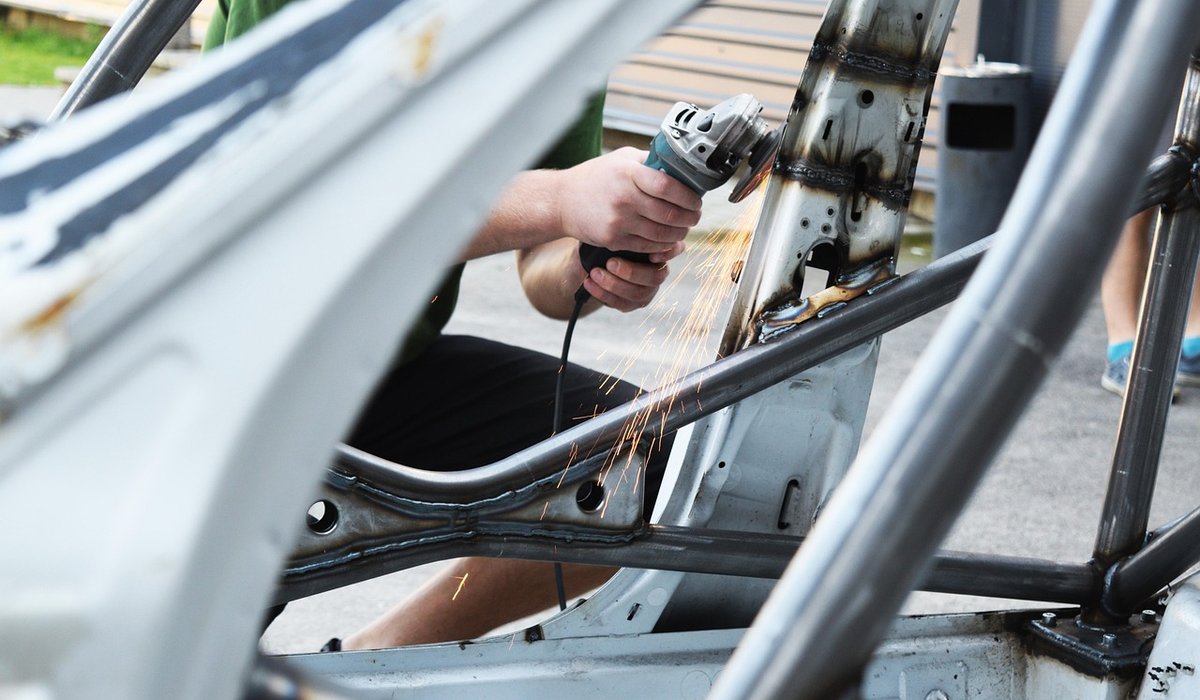
Anyone can draw out a taper or roll a scroll with enough practice at the anvil, but the part of the craft that separates a competent smith from a good one is the joint. A gate, a railing, a fire basket or a pair of tongs is only as strong as the places where its bars meet, and the traditional methods for making those meetings are older than most of the tools we use to do the work. Some rely on fire welding, where two pieces of iron become one; others are mechanical, relying on shape, wedge and rivet. All of them reward patience and a well-managed fire.
What follows is a working overview of the main joints you will meet in traditional metalcraft, with a few notes on where each one earns its keep.
The scarf is the classic forged joint. Instead of butting two bars together, you forge a long taper on each, so the two surfaces overlap across a generous length. That overlap is the whole point: stress is spread along the scarf rather than concentrated at a single seam, which makes the joint far more resistant to bending and shock.
As a rule of thumb, a scarf wants to be around one and a half to two times the thickness of the bar, though heavy sections sometimes call for more. The faces are dressed clean, brought to a bright welding heat, dusted with borax to keep the surface from oxidising, and then brought together and hammered with quick, firm blows, working from the centre outwards so the slag and scale are squeezed out of the seam.
Upsetting the bar just behind the scarf gathers a little extra material, so the finished joint does not finish thinner than the parent bar.
The lap joint is the simplest weld in the smithy, and there is no shame in using it. One bar is laid over another and the two are welded where they cross. When several pieces are stacked and welded in this way, the old books call it a faggot weld, and it is a quick route to building up a thick section or a decorative cluster.
For intersecting bars that need to finish flush, the half-lap is the answer. Each bar is forged down to roughly half its thickness at the crossing point, so that when they sit together the combined section matches the original bar. This is the joint behind countless gate panels, grilles and gridwork, and it looks intentional rather than clumsy when the shoulders are left crisp.
Two habits make lap welds reliable. First, fit them before you weld, so the surfaces meet with no gap to fill. Second, keep the fire clean and the heat even; a lap weld that is struck too cool will look sound and fail in service.
Ironwork borrowed the mortise and tenon from timber framing, and it works just as well in metal. The upright or frame bar is hot punched to make the mortise, then drifted to size and squared up. The rail is forged with a shouldered tenon that passes through the hole, and the assembly is locked either by riveting the protruding end over or by driving a wedge through a split tenon.
The shoulder matters as much as the tenon. A well-formed shoulder sits tight against the face of the punched bar, taking the load and keeping the joint square. If the shoulder is sloppy, the whole frame will rack. For architectural work such as gates and balustrades, this joint is the standard because it can be tightened later and, on larger pieces, dismantled for repair or repainting.
Not every joint should be welded. Where bars meet in a cluster, a collar is often the better answer: a flat strip of iron wrapped around the junction, drawn tight, and welded shut along its own seam. The collar gathers the bars, hides the meeting points, and gives a strong decorative line. It is a mainstay of traditional gate and grille work.
Wedges and rivets finish the job. A wedge driven through a split tenon and then turned over locks the joint mechanically, and it can be tightened with a few hammer blows years later. A rivet, whether formed from the tenon itself or set as a separate pin, is peened over to hold the work fast while still allowing the tiny amount of movement that stops a rigid frame from cracking.
Good joints come from good preparation rather than brute force. Keep the fire clean and the work free of scale. Fit every joint cold or warm before you commit it to the forge. Plan the sequence of assembly before you start, because a joint in the middle of a frame is far harder to reach than one at the end of a bar. And when you are learning, practise each joint on scrap until the scarf closes without a seam and the tenon shoulders sit flat.
Get those fundamentals right and the joints will disappear into the work, doing their job quietly for a century or more.


We are not gonna make spamming
