
The Little Forge shares practical, down-to-earth guidance on traditional blacksmithing and metalcraft for readers across the UK.
- 0123456789
- Angle Bd Abdelmoumen & rue soumaya, Résidence
- [email protected]
The Little Forge shares practical, down-to-earth guidance on traditional blacksmithing and metalcraft for readers across the UK.
 By Eleanor Whitfield
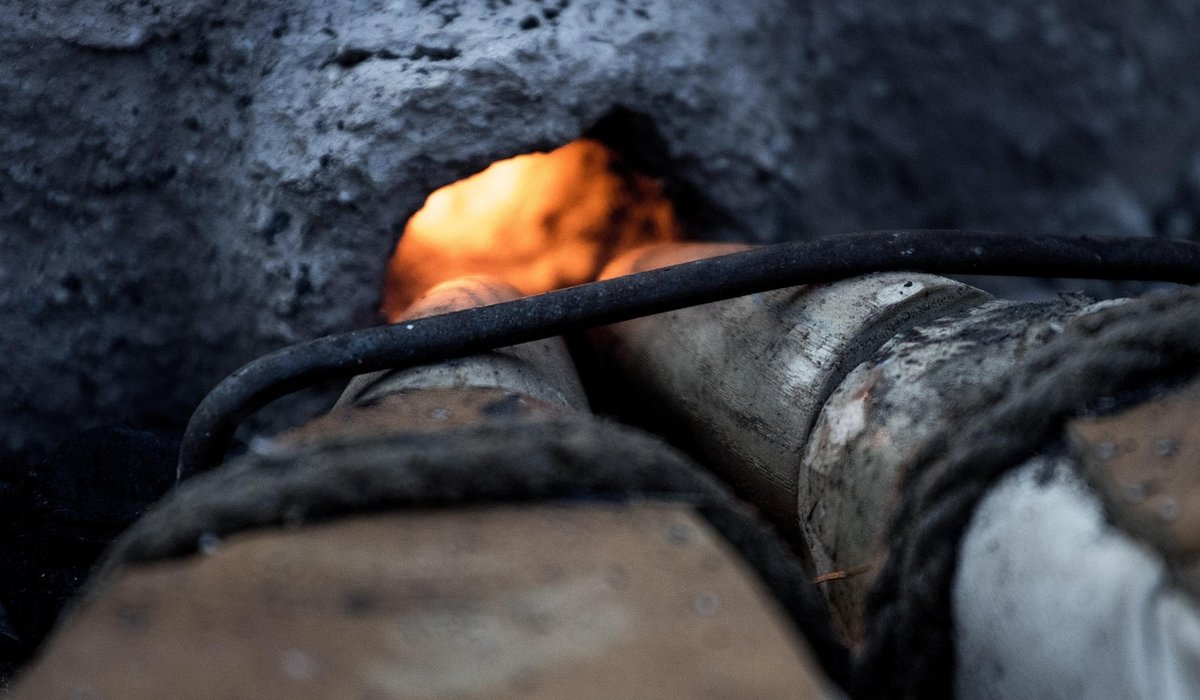
In a traditional forge, you rarely need a pyrometer. The steel itself tells you when it is ready. As you heat a bar, it glows, and that glow changes colour with temperature. Learning to read those colours is one of the first real skills a blacksmith develops. It lets you work efficiently, avoid burning expensive steel, and repeat successful results. A smith who knows heat colours can judge when to strike, when to stop, and when to cool the metal.
The principle is simple: steel emits light as it gets hotter. At lower temperatures the glow is deep red; at higher temperatures it shifts through orange and yellow to a blinding white. Your eye is the sensor. With practice, you can estimate temperature within 50°C or so, which is often close enough for forging.
Forging colours are not exact for every steel, but the sequence is universal. Alloying elements shift the temperature slightly, and workshop light can deceive you. Still, these ranges are a reliable starting point for common carbon steels.
For most carbon steels, stay within 800–1200°C. If you see white, pull the steel out immediately. If you see sparks, you have already gone too far.
Once a tool is hardened, you temper it to reduce brittleness. The colours that run on polished steel during tempering are oxide films, not the glow of hot metal. They appear at much lower temperatures and follow a predictable sequence. Traditional smiths use these colours to judge tempering temperature without an oven.
These colours indicate surface temperature, not core temperature. For thick sections or critical tools, a tempering oven gives more reliable results.
Heat colours are easy to misread if your workshop conditions are poor. Direct sunlight washes out the glow, while a dark corner makes steel look hotter than it is. Aim for consistent, moderate lighting. If possible, forge in a shaded area or use a screen to block bright light.
Scale and oxidation also hide colour. A heavy layer of black scale insulates the steel and masks its true temperature. Wire-brush the metal before judging, or use a light flux when welding. Different steels show colour differently: high-carbon steels may appear slightly darker at the same temperature than mild steel. Learn the steel you are using.
The main reason to master heat colours is to avoid damaging your steel. Overheating causes burning, where the steel sparks and becomes spongy. The grain structure is ruined, and the metal cannot be forged back to health. Decarburisation is subtler: the surface carbon burns away, leaving a soft skin that will not harden properly. Both problems are permanent.
Working too cold is equally risky. Forging below the dull red range can cause internal cracks and cold shuts. The steel may look fine, but it will fail later. Always bring the metal up to at least cherry red before striking. If it cools below that, put it back in the fire.
Like any smithing skill, reading heat colours takes repetition. Start with mild steel, which is forgiving and shows clear colours. Heat a bar and watch it through the full range, from dull red to bright yellow. Quench it and try again. Soon you will recognise the transition points without thinking.
Keep a simple chart near your forge, or write the key temperatures on the wall. But remember that experience is the best teacher. Your eye will learn faster than any book. Combine colour with sound—the ring of the anvil changes as steel cools—and with the feel of the hammer. Before long, you will know exactly when to strike, when to wait, and when to stop. That is the quiet confidence of a traditional blacksmith.


We are not gonna make spamming
