
The Little Forge shares practical, down-to-earth guidance on traditional blacksmithing and metalcraft for readers across the UK.
- 0123456789
- Angle Bd Abdelmoumen & rue soumaya, Résidence
- [email protected]
The Little Forge shares practical, down-to-earth guidance on traditional blacksmithing and metalcraft for readers across the UK.
 By Thomas Ashworth
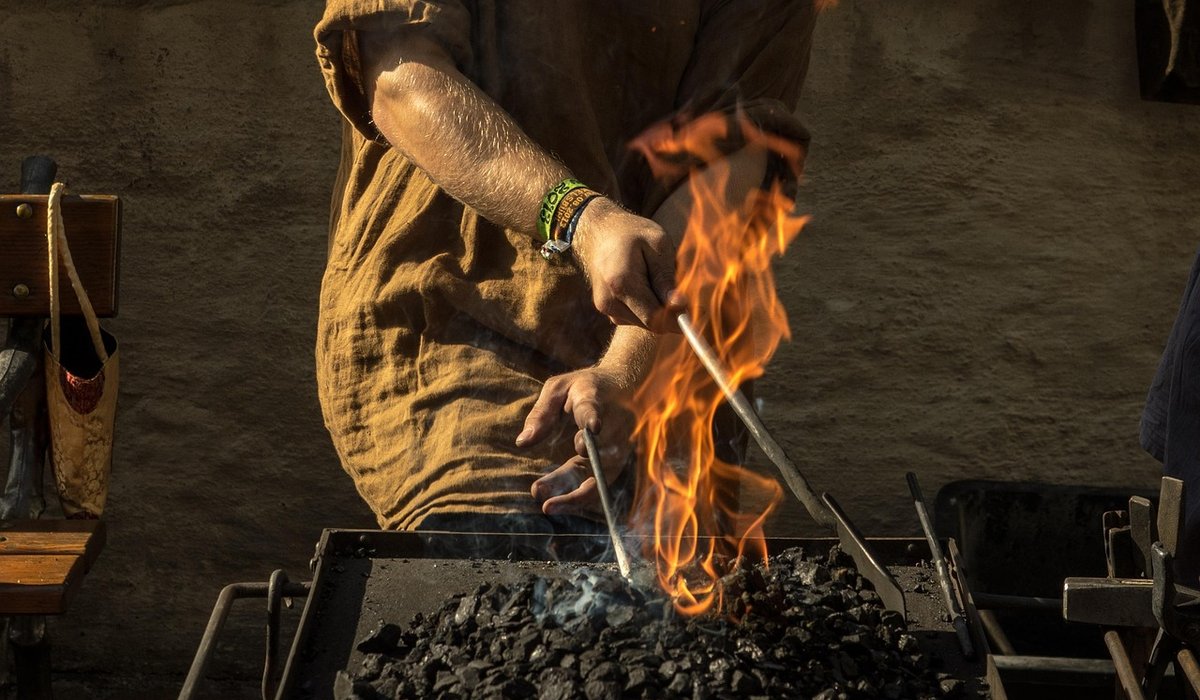
A hallway hook does a simple job, but a forged one does it with a certain quiet weight that no pressed-steel or zinc-alloy bought hook can imitate. Look closely at a good hand-forged hook and you will see the taper drawn out under the hammer, the soft facets left by the peen, and the subtle thickening where the metal was gathered rather than cut. It is a small object, but it feels made rather than manufactured.
It is also one of the best first projects you can take on. In a single session you will taper, flatten, bend, and finish — the four fundamentals of the craft — and by the evening you will have hung your coat on it. Allow around an hour and a half at the forge, plus finishing.
Wear eye protection throughout and keep leather gloves on when you are handling hot stock — but take them off for fine hammer work, as you will feel the steel better through bare hands.
Take one end of the bar and bring the last 60mm or so to a bright orange, then lay it on the anvil face with the hot end overhanging the edge. Strike it with the flat face of the hammer, working from the shoulder of the taper down towards the point. A useful rhythm is: one blow, a quarter turn of the bar, another blow, another quarter turn. This keeps the taper round and even rather than flattening it into a blade.
Work in short bursts and return to the fire as soon as the colour drops below a cherry red. Cold steel struck hard will crack or bruise your hammer hand. You are aiming for a taper around 70–80mm long that finishes at roughly 4–5mm with a softly rounded point, not a spike. If the taper starts to bend, correct it with a light blow while it is still hot.
The other end becomes the wall plate. Heat the top 50mm and hammer it flat on the anvil face, working the metal outwards until you have a leaf about 30mm wide and 4mm thick. Keep the edges soft and slightly irregular — a perfectly rectangular plate looks machined, and that is not the point.
Round the two top corners with a few glancing blows, then let it cool slowly in air. When it is comfortable to handle, drill two 4mm holes about 40mm apart, centre-punched first so the bit does not wander. Deburr the holes with a larger bit turned by hand, or a quick rub with a file.
Now for the curve. Heat the middle of the bar to a good orange — a section about 80mm long — and begin the bend over the horn of the anvil or around a piece of pipe held in the vice. Bend it in stages, using the hammer to encourage the curve as much as your arm, rather than hauling it round in one movement. A single hard pull almost always produces a kink or a flat spot.
Aim for an open, generous hook with an internal gap of about 35–40mm. Once the main curve is there, return the last 40mm of the tapered tip to the fire and give it a gentle upward lift, so the point rises slightly. That small flick stops coats and bags slipping off, and it reads clearly as a deliberate detail.
Check the whole piece against a flat surface while it is still warm. Hook and plate should sit in the same plane, or the hook will rock on the wall.
Bring the hook to a low red heat and scrub it briskly with the wire brush, back and front. This removes the loose mill scale and leaves the dark, slightly mottled surface that suits an iron hook in a hallway. Do not over-polish it — the point is character, not shine.
While the metal is still warm enough to sizzle a droplet of water but cool enough to hold briefly with a gloved hand, rub in a coat of beeswax or linseed oil. Work it into the recesses with a rag, let it cool, then buff with wire wool and wax again. Two thin coats beat one thick one. The finish will dull slightly over the years and want refreshing now and then, which is exactly what you would expect from an honest piece of ironwork.
When you fit it, use a detector to check for cables and pipes before drilling, then fix with two 25mm screws and plugs suited to your wall. Drive them in gently so the plate beds down without distorting, and tighten the top screw first. Hang something on it, stand back, and enjoy the fact that the hall now has one object in it that will comfortably outlast the coat.


We are not gonna make spamming
