
The Little Forge shares practical, down-to-earth guidance on traditional blacksmithing and metalcraft for readers across the UK.
- 0123456789
- Angle Bd Abdelmoumen & rue soumaya, Résidence
- [email protected]
The Little Forge shares practical, down-to-earth guidance on traditional blacksmithing and metalcraft for readers across the UK.
 By James Hartley
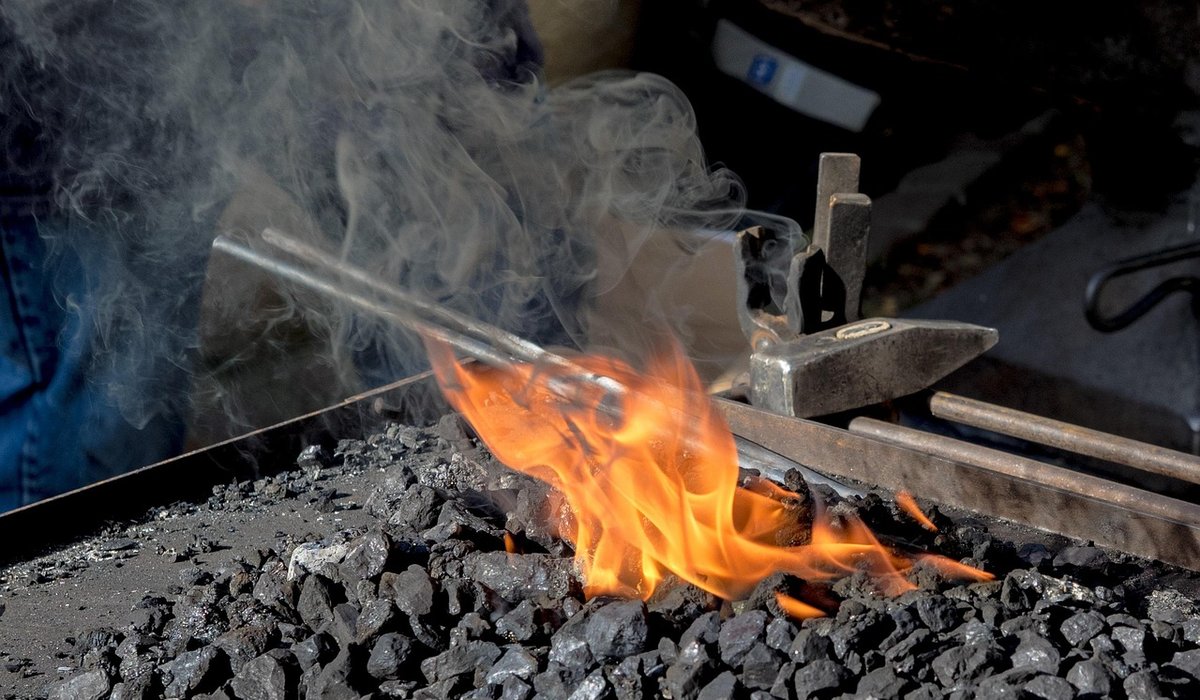
In any traditional blacksmith's shop, the anvil is more than a lump of iron. It is the fixed point around which every other tool and technique revolves. Its sheer mass — often between one and three hundredweight — provides the inertia you need to move hot metal efficiently. When you strike a hammer blow on the anvil's face, the energy travels through the workpiece and into the anvil's body, which pushes back. That rebound is not a happy accident; it is the anvil doing half the work. The ring and feel of a good anvil tell you instantly whether your metal is at the right temperature and whether your hammer technique is sound.
Early anvils were simple stones or bronze blocks, but by the medieval period smiths had learned to forge wrought iron bodies and weld on a hardened steel face. The London pattern, which became the standard in Britain from the late eighteenth century onwards, is a masterpiece of functional design. Its distinctive shape — a long rectangular face, a conical horn, a step, and a heel with two holes — was not arbitrary. Each feature solved a specific problem. The face was made from a thick plate of high-carbon steel, often a quarter to half an inch thick, forge-welded to a softer wrought iron body. This gave a hard, durable working surface without making the whole anvil brittle. Look at any old anvil and you will see the marks of generations: chisel cuts, hammer dents, and the smooth polish of countless hours of use.
To use an anvil well, you need to know its geography. Each part has a distinct purpose, and learning them turns a heavy block into a versatile workholding and forming system.
A typical London pattern anvil might have a one-inch hardy hole and a three-quarter-inch pritchel. You should never cut on the face, as you will chip the hardened steel. The step and the hardy hole are there for that work.
Cutting on the anvil is not about brute force. It is about using the right part of the tool. For shearing hot metal, you place the workpiece over the hardy hole and drive a hot cutter or hardy tool down through it with a hammer. The square hole holds the tool securely, and the anvil's mass absorbs the shock. For lighter cuts, you can use the step, which is soft enough to take a chisel without damaging the face. Never use a cold chisel on the face or edges of the anvil; the hardened steel can crack. If you need to nick a bar before bending and breaking it, do it on the step or over the hardy hole. The anvil's edge can also be used for light shearing of thin stock, but keep it for soft metals and reserve the face for shaping. A sharp, well-dressed hardy tool makes the difference between a clean cut and a mangled one.
The anvil's horn and face work together for bending and shaping. To make a curve, you hammer the metal over the horn, starting near the tip for a tight radius and moving towards the base for a wider sweep. The horn's taper lets you form anything from a small hook to a large scroll. For more controlled bends, you can use a bending fork in the hardy hole. The face is for flattening, drawing out, and setting down. The edge of the face, where it meets the side, is useful for shouldering — creating a sharp corner or a tenon. For upsetting — thickening the end of a bar — you hammer the cold end against the anvil's face while the hot end is held vertically. The anvil's mass prevents it from bouncing away. Every operation relies on the anvil being a solid, unmoving reference point.
A good anvil deserves a good home. Mount it on a solid hardwood stump — oak or elm is traditional — buried deep enough to be stable. The working height should be roughly the height of your knuckles when you stand with your arms relaxed at your sides. If the anvil rings too loudly, wrap a chain around its waist or strap it down with a leather belt to dampen the sound. Keep the face clean and dry; a light wipe with oil after use prevents rust. Never hammer cold metal on the face, and never use it as a welding table or a cutting block for cold steel. If the edges become chipped, dress them with a file or an angle grinder, maintaining a slight radius. A simple rebound test — dropping a ball bearing from a foot above the face — should see it bounce back most of the way. That tells you the face is still hard and the anvil is sound. Treated well, an anvil will outlast you and serve the next generation of smiths.


We are not gonna make spamming
